


TOC
Table of Contents
Overview
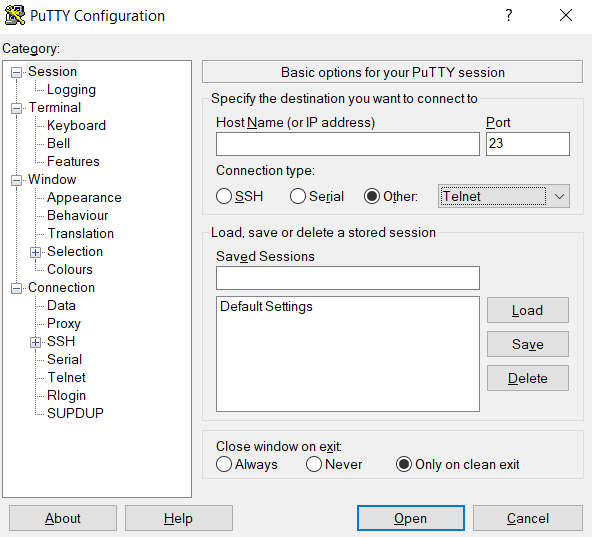
For security reasons, It is advised to use secure SSH rather than Telnet to connect to a server. When you use Telnet, your passwords are sent through the network in plain text. As a result, the root user is not permitted to use Telnet by default.
Solution
- Make sure you have the necessary telnet-server and telnet RPMs installed before using Telnet.
# rpm -qa | grep telnet
telnet-server-3.13-26.EL8
telnet-3.13-26.EL8- If you don’t have the telnet-server or telnet packages installed, you can use the RPMs from your installation disk to install them, or you can use the yum program to download and install the package.
# up2date telnet-server telnet# yum install telnet-server telnet- Add the service to firewalld.
# firewall-cmd --add-service=telnet --zone=public- If you want to keep this rule permanent, add the –permanent flag to the command.
# firewall-cmd --add-service=telnet --zone=public --permanent- Reload the firewall rules.
# firewall-cmd --reload- Add the service to SELinux (not required with selinux-policy-3.12.1-77 or later)
# semanage port -a -t telnetd_port_t -p tcp 23- Start and Enable the telnet service
# systemctl start telnet.socket
# systemctl enable telnet.socket
or
# systemctl enable telnet.socket --now- Test the telnet server.
# telnet server2
Trying 3.3.3.3...
Connected to 3.3.3.3.
Escape character is '^]'.Kernel 3.10.0-327.el7.x86_64 on an x86_64
server2 login: telnet-user
Password:
Leave a Reply
You must be logged in to post a comment.